Easy Crochet Honeycomb Bee: Free Step-by-Step Pattern
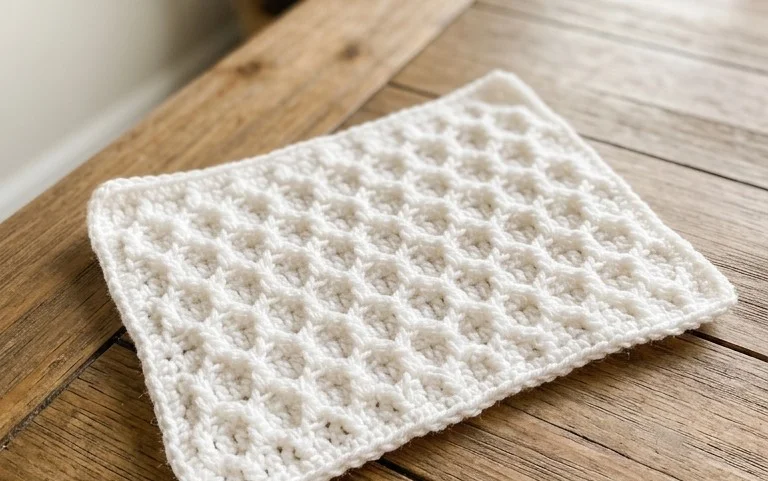
There is something undeniably cozy about the structured, geometric texture of this buzzing hexagonal pattern. It creates a plush, squishy fabric that feels substantial yet soft, making it an ideal choice for heirloom baby blankets or modern home decor cushions. If you are a beginner seeking a quick confidence boost or a busy maker needing a meditative project, this design offers pure satisfaction as the clever shapes emerge row by row. You will master a simple yet rhythmic combination of post stitches that build up rapidly, leaving you with a sophisticated result that looks far more intricate than it actually is.
Why You’ll Love This Pattern
This Amigurumi Crochet Bee is the ultimate quick-win project for crocheters of any experience level. Whether you are looking to build your confidence with 3D construction or need a last-minute gift, this pattern delivers consistent, adorable results. The small size makes it an incredibly scrap-yarn friendly project, allowing you to use up those leftover bits of yellow and black cotton from your stash. Because it uses continuous rounds and basic shaping techniques, it serves as a fantastic introduction to the meditative nature of amigurumi.
I made three of these in a single afternoon! The pattern is so easy to follow and the shaping is perfect without needing any complex sewing. It’s definitely my new go-to gift for friends.
— Sarah, amigurumi enthusiast
Pattern Overview & Skill Level
- Skill Level: Advanced Beginner
- Approximate Time: 1 – 1.5 hours
- Construction: Worked in continuous rounds using a magic ring, with increases and decreases for shaping. The wings are worked separately and sewn on.
- Finished Dimensions: Approximately 3 inches long and 2 inches wide.
Materials & Supplies Needed
- Yarn: Worsted weight (#4) cotton yarn. You will need approximately 20 yards of yellow, 15 yards of black, and 10 yards of white.
- Hook Size: 3.5 mm (E-4) hook to ensure tight stitches so the stuffing does not show through.
- Notions: Tapestry needle, stitch markers, fiberfill stuffing, and 6mm black safety eyes.
- Safe Yarn Substitutions: Acrylic worsted weight yarn can be substituted for cotton, but note that it may have more “stretch,” which could cause the stuffing to become slightly more visible between stitches.
Stitch Guide & Abbreviations (US Terms)
- MR: Magic Ring
- st(s): Stitch(es)
- ch: Chain
- sc: Single crochet
- inc: Increase (work 2 sc in the same stitch)
- dec: Invisible decrease (insert hook through the front loops of the next two stitches, yarn over and pull through, yarn over and pull through both loops on hook)
- sl st: Slip stitch
Step-by-Step Pattern Instructions
Bee Body
- Rnd 1: With yellow, 6 sc in MR (6)
- Rnd 2: Inc in each st around (12)
- Rnd 3: Sc 1, inc around (18)
- Rnd 4: Sc 2, inc around (24)
- Rnd 5-7: Sc in each st around (24)
- Rnd 8: Change to black, sc in each st around (24)
- Rnd 9: Change to yellow, sc in each st around (24)
- Rnd 10: Change to black, sc in each st around (24)
- Rnd 11-12: Change to yellow, sc in each st around (24)
- Insert safety eyes between Rnds 6 and 7, about 4 stitches apart. Begin stuffing the body firmly.
- Rnd 13: Sc 2, dec around (18)
- Rnd 14: Sc 1, dec around (12)
- Rnd 15: Dec around (6). Fasten off and weave in tail to close.
Wings (Make 2)
- Rnd 1: With white, 6 sc in MR (6)
- Rnd 2: Inc in each st around (12)
- Rnd 3: Sc in each st around (12)
- Rnd 4: Sc 2, dec around (9)
- Rnd 5: Sc 1, dec around (6). Fasten off, leaving a tail for sewing. Flatten wings; do not stuff.
Assembly
Sew the wings onto the top of the body, positioned between rounds 4 and 6. Use your tapestry needle to secure the wings with a few tight whip stitches. Using a small piece of black yarn, embroider a small “V” shape for the mouth if desired.
Care & Washing Instructions
- Hand wash gently in cool water using a mild detergent.
- Lay flat on a clean towel and reshape immediately to ensure the bee maintains its round form while drying.
- Do not wring or twist the item, as this will distort the stuffing inside.
Pro Tips & Common Mistakes to Avoid
- Maintain Tight Tension: Use a hook size slightly smaller than the yarn label recommends to keep your stitches tight, preventing fiberfill from poking through.
- Stitch Markers are Essential: Because this is worked in a continuous spiral, always place a stitch marker in the first stitch of every round so you don’t lose your place.
- Invisible Weaving: When closing your rounds or attaching pieces, use an invisible whip stitch to hide the thread for a professional, seamless finish.
- Size Adjustments: To make a larger bee, use a bulkier yarn weight and a matching hook; note that this will require significantly more yardage and a larger size of safety eyes.
Frequently Asked Questions
Can I substitute the safety eyes for something else?
Yes, if this is for a child under three years old, replace safety eyes with embroidered French knots to avoid a choking hazard.
How do I keep my edges clean when switching yarn colors?
To achieve a clean color transition, perform the final yarn over of the last stitch of the old color with the new color before starting the next round.
Is this pattern suitable for complete beginners?
Yes! If you are comfortable with the basic single crochet stitch, the magic ring, and simple increases/decreases, you will find this pattern very approachable.
Am I allowed to sell the finished bees?
You are welcome to sell items made from this pattern, provided you credit the original designer in your product listings. Please do not sell or redistribute the pattern itself.
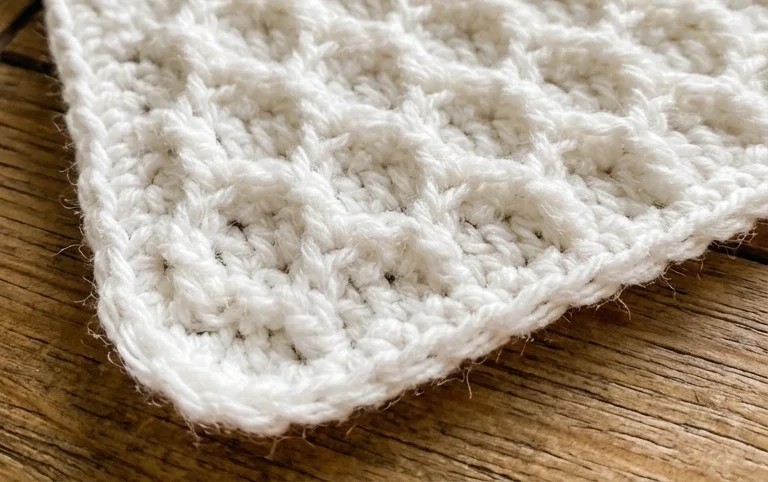
Watching this beautiful textured fabric come to life is such a rewarding experience, and your finished piece will look stunning draped over any chair. If you want to experiment, try using a variegated cotton yarn to make the geometric shapes pop with vibrant color. I would love to see how your project turned out, so please share a photo on Pinterest or tag me on social media. For more cozy inspiration, feel free to browse the rest of my free pattern library!