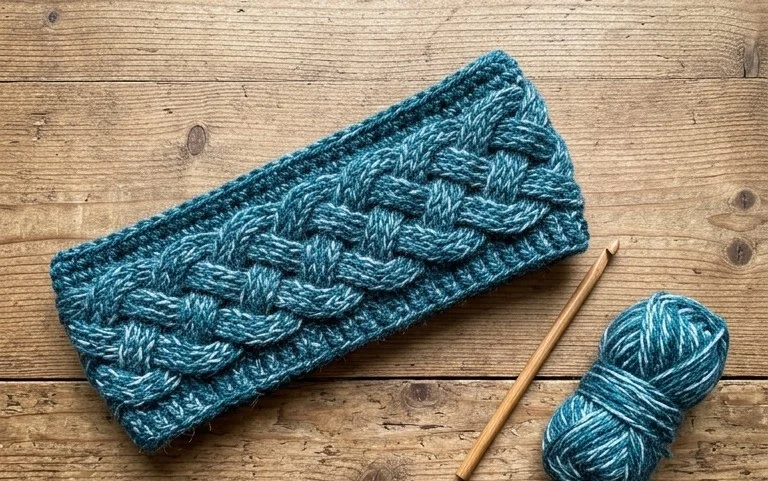
Easy Celtic Winters Ear Warmer Free Crochet Pattern
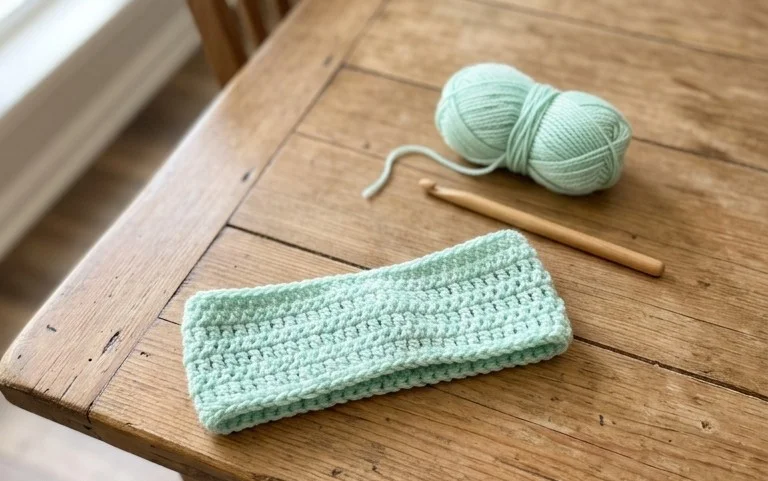
Soft wool against your ears brings warmth during bitter morning commutes or long winter walks. This accessory features a dense, ribbed texture that mimics a professional knit look, yet it relies entirely on simple single crochet stitches worked in the back loops. Beginners often find this project rewarding because the flat rectangle construction removes the intimidation of shaping or complex increases. You will learn how to create a clean, stretchy fabric that stays put without slipping throughout the day. It is a satisfying way to use up half-skeins of yarn while building confidence with basic stitch repeats that grow quickly into a practical, wearable gift.
Why You’ll Love This Pattern
This crochet ribbed beanie pattern uses a simple construction method that creates a professional, store-bought appearance using basic stitches. The primary benefit is the back-loop-only technique, which provides excellent stretch and a squishy, comfortable texture that fits most adult head sizes without needing complex shaping. Because it is worked as a flat rectangle and then seamed, you do not have to worry about complicated stitch counts while working in the round. The project is highly efficient, usually taking one evening of work to complete, making it ideal for last-minute gifts or stash-busting projects using leftover worsted weight yarn.
I managed to finish this hat in just a few hours. The ribbing looks complicated, but it is just a simple repeat that kept me relaxed all evening.
— Sarah, hobbyist crocheter
Pattern Overview & Skill Level
- Skill Level: Beginner
- Approximate Time: 3 to 4 hours
- Construction: Worked flat in rows to create a rectangle, then seamed to form a tube with one end cinched shut.
- Finished Dimensions & Sizing: Approximately 9 inches tall by 18 inches circumference, designed to fit an average adult head with plenty of stretch.
Materials & Supplies Needed
- Yarn: Worsted weight (#4 medium), approximately 200 yards of wool or acrylic blend.
- Hook Size: 5.5 mm (US I-9).
- Notions: Tapestry needle, scissors, and a stitch marker to track the edge stitches.
- Safe yarn substitutions: You may use a cotton yarn, but be aware that it will lack the elasticity of wool or acrylic, resulting in a less snug fit. Choosing a bulky weight yarn will require fewer foundation chains and rows but will increase the overall stiffness of the fabric.
Stitch Guide & Abbreviations (US Terms)
- ch = chain
- st/sts = stitch/stitches
- sl st = slip stitch
- BLO = back loop only (inserting your hook only into the back loop of the V-shape on top of the stitch to create the ribbed effect)
- sc = single crochet
Step-by-Step Pattern Instructions
Main Body
You will work this piece as a flat rectangle. The length of your starting chain determines the height of the hat, and the number of rows determines the circumference.
- Row 1: Ch 35. Sc in the second ch from the hook and in each ch across. Turn. (34 sts)
- Row 2: Ch 1, working in BLO, sc in each st across. Turn. (34 sts)
- Row 3–60: Repeat Row 2 until the piece measures approximately 18 inches when slightly stretched.
Assembly and Finishing
Once you reach the desired length, do not fasten off immediately. Instead, fold the rectangle in half so that the short ends meet. Slip stitch the two short ends together through the BLO and the original foundation chain to create a tube.
Fasten off, leaving a 12-inch long yarn tail. Thread this tail onto your tapestry needle. Weave the needle in and out through the edge of the tube at the top opening. Pull the yarn tail tight to gather the top of the hat closed, then secure with a knot and bury the remaining ends inside the fabric.
Care & Washing Instructions
- Hand wash in cool water using a mild wool-safe detergent to maintain the integrity of the fibers.
- Lay the hat flat on a clean towel away from direct sunlight to dry completely to prevent stretching or sagging.
- If the ribbing loses its shape over time, gently steam the hat by holding a steamer a few inches away, then reshape with your hands.
Pro Tips & Common Mistakes to Avoid
Maintaining consistent tension is the most vital part of this project. If your stitches are too tight, the hat will not have the necessary stretch to fit comfortably. Practice your slip stitches on a small swatch first to ensure you are not pulling them too tightly.
Always count your stitches at the end of every row. It is common for beginners to accidentally drop the last stitch of a row, which will cause the edge of your rectangle to slant rather than stay straight.
When seaming the hat, ensure your stitches line up perfectly with the corresponding row ends. If you find your seam is bulky, try using a whip stitch instead of a slip stitch for the join.
If you want to adjust the size, simply add more rows to make the circumference larger or fewer rows to make it smaller. Keep in mind that every 4 rows added or subtracted will change the circumference by roughly one inch.
Frequently Asked Questions
Can I use a different yarn weight for this pattern?
Yes, but you must adjust the starting chain length to match your desired height and work more or fewer rows to reach the circumference of 18 inches. Always check your gauge before starting.
Is this pattern suitable for someone who has never crocheted before?
Yes, this is an excellent first project because it only uses single crochet and slip stitches, both of which are fundamental techniques for any beginner.
Can I sell the finished hats I make from this pattern?
You are welcome to sell items made from this pattern, though it is standard professional courtesy to credit the designer when listing your items online.
How do I prevent the top of the hat from looking bulky when I cinch it shut?
When weaving your yarn tail through the top edge, try to pick up only every other row or every few stitches. This reduces the amount of yarn gathered at the crown, allowing it to lay flatter against your head.
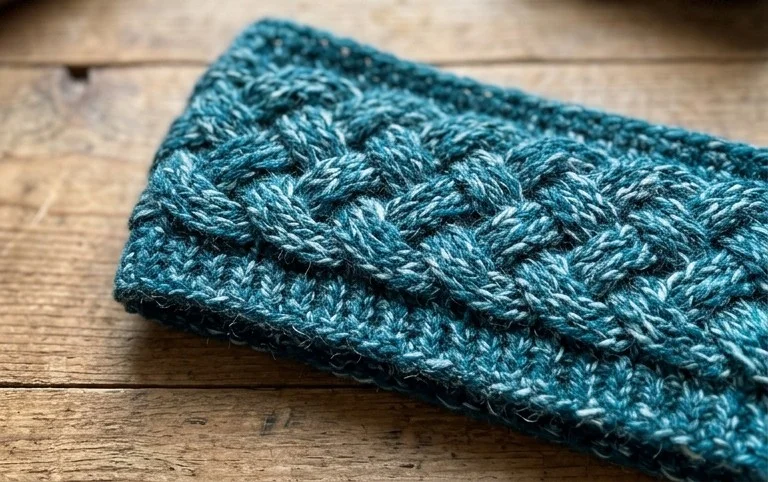
Holding your finished ear warmer feels satisfying after spending just a few hours with your hook and yarn. You can adjust the size easily by adding more rows to the width if you prefer a slouchier fit or use a chunky wool for an extra thick, cozy winter shield. Sharing a photo of your work on Instagram helps other crafters find inspiration for their own color choices. Please visit the rest of the blog to browse more free patterns for simple accessories to expand your handmade wardrobe this season.