Classic Crochet Granny Square: Free Beginner Pattern
A warm wool square resting in your lap feels heavy and grounding as the final cluster forms against your palms. These squares bring a quiet, rhythmic focus to your evening, offering a practical way to turn small yarn scraps into meaningful home decor or heirloom blankets. New makers find the basic double crochet cluster remarkably forgiving, while experienced hands appreciate the meditative speed of completing a round. You will gain confidence in managing tension and color transitions without needing to memorize complicated charts. This project rewards you with a dense, structured fabric that holds its shape through years of use and regular washing cycles.
Why You’ll Love This Pattern
The Classic Crochet Granny Square is the foundation of countless heritage-style blankets and modern garments. This pattern focuses on the traditional three-double-crochet cluster technique, which creates a balanced, geometric aesthetic that never goes out of style. You will find that the repetitive nature of the rounds makes this a perfect project for relaxing after a long day or for working on while traveling. Because each square uses only a small amount of yarn, it is an excellent way to use up leftover bits from larger projects, effectively organizing your stash while creating something beautiful.
I finally learned how to make these for a blanket for my granddaughter, and the instructions were so clear that I finished my first dozen in a single weekend.
— Sarah, hobbyist crafter
Pattern Overview & Skill Level
- Skill Level: Beginner
- Approximate Time: 30 to 45 minutes per square
- Construction: Worked in rounds, starting from the center and expanding outward
- Finished Dimensions: Approximately 5 inches by 5 inches when using standard worsted weight yarn
Materials & Supplies Needed
- Yarn: Worsted #4 weight, acrylic or wool blend, approximately 15 to 20 yards per square.
- Hook Size: 5.0 mm (H-8).
- Notions: Tapestry needle for weaving in ends, scissors, and optional stitch markers.
- Yarn Substitutions: You can use DK weight yarn with a 4.0 mm hook for a smaller, more delicate square, or chunky weight yarn with a 6.0 mm hook for a larger, quicker square. Adjusting weight will change the final dimensions significantly.
Stitch Guide & Abbreviations (US Terms)
- ch: chain
- st: stitch
- sl st: slip stitch
- dc: double crochet
- Cluster: A group of 3 dc stitches worked into the same space.
- Corner: A sequence of (3 dc, ch 2, 3 dc) worked into the chain-space of the previous round.
Step-by-Step Pattern Instructions
Center and First Rounds
- Foundation: Start with a magic ring or ch 4 and sl st to the first ch to form a loop.
- Rnd 1: Ch 3 (counts as 1 dc here and throughout), work 2 dc into the loop, ch 2, 3 dc, ch 2 3 times. Join with a sl st to the top of the initial ch 3. (12 dc, 4 ch-2 spaces)
- Rnd 2: Sl st into the next 2 dc and into the first ch-2 corner space. Ch 3, 2 dc, ch 2, 3 dc in the same corner space. Ch 1, in the next corner space work (3 dc, ch 2, 3 dc). Repeat from * to * two more times. Ch 1, join with sl st to the top of the initial ch 3. (24 dc, 4 corner ch-2 spaces, 4 side ch-1 spaces)
- Rnd 3: Sl st to the next corner space. Ch 3, 2 dc, ch 2, 3 dc in the corner space. Ch 1, 3 dc in the side ch-1 space, ch 1, (3 dc, ch 2, 3 dc) in the next corner space. Repeat from * to * around. Ch 1, join with sl st to top of initial ch 3. (36 dc, 4 corner ch-2 spaces, 8 side ch-1 spaces)
Finishing the Square
Once you reach the desired size, fasten off your yarn by pulling the tail through the final loop. Use a tapestry needle to weave the loose ends into the back of the stitches, ensuring you work through the center of the clusters to keep the ends secure and hidden. If you are joining multiple squares, leave a longer tail on the final round to assist with your preferred seaming method.
Care & Washing Instructions
- Machine wash on a gentle cycle in cool water (30C/86F).
- Lay the squares flat on a clean towel to air dry, avoiding direct sunlight to prevent fiber degradation.
- Reshape the squares while damp by pulling gently at the corners to ensure they maintain their intended square geometry.
Pro Tips & Common Mistakes to Avoid
Maintaining consistent tension is the primary factor in ensuring your squares remain flat rather than rippling or cupping. If your square is curling, your tension may be too tight; if it is ruffling, your tension might be too loose or you are adding too many stitches. Always use a stitch marker in the first stitch of your chain-three start to make finding your joining point easier. When weaving in your ends, ensure you go through the back loops only to keep the front side of your work looking clean and professional. You can easily adjust the size of these squares by adding or removing rounds, but remember that larger squares will require significantly more yarn per unit.
Frequently Asked Questions
Can I use cotton yarn instead of wool or acrylic?
Yes, cotton is an excellent choice for these squares, though it has less elasticity. You may find that you need to block your finished pieces more aggressively to keep the edges perfectly straight.
Is this pattern suitable for someone who has never held a crochet hook?
This is a classic beginner pattern. While the initial magic ring can be tricky, practicing the double crochet stitch repeatedly will quickly build the muscle memory required for this project.
How do I join these squares together once they are finished?
There are several popular methods, including the single crochet join, the invisible slip stitch seam, or a simple whip stitch using a tapestry needle. Choose the one that best suits the drape you want for your final item.
Am I allowed to sell items made from this pattern?
You are welcome to sell finished products made from your own labor using this pattern. Please ensure you credit the design work appropriately and do not redistribute the written instructions themselves.
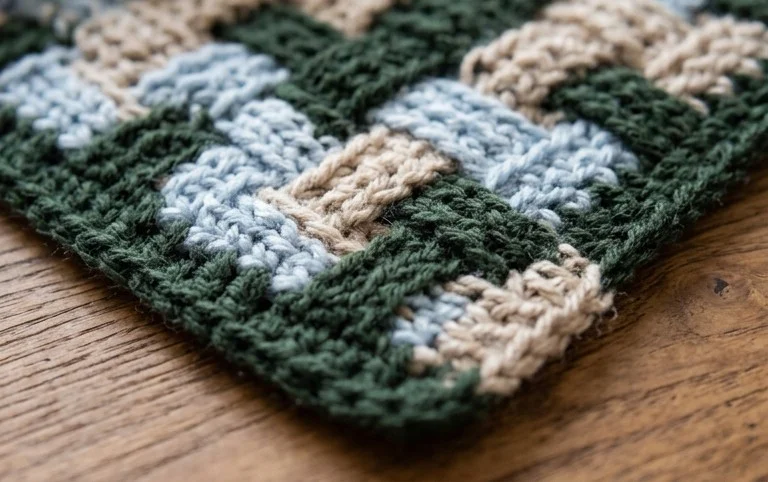
Your finished square now holds a firm, square edge ready to be joined into a larger heirloom piece. You might consider working a solid color border around the final round to give your work a crisp, finished frame. Please upload a clear photo of your progress to your favorite social media feed so others can see your color choices. You will find several additional free patterns covering different decorative motifs by browsing the archives on the main blog page.