Easy Crochet Witch Hat Pattern: Free Beginner Project
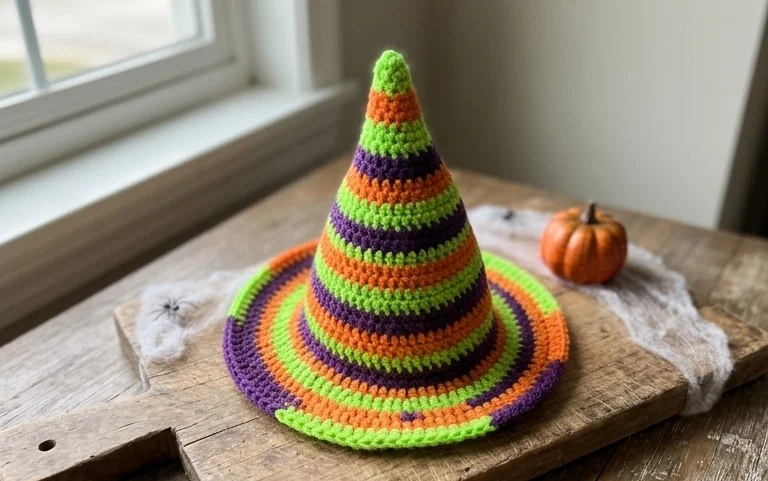
This pointed hat stands out with its slightly slouchy, dramatic silhouette and sturdy brim that holds its shape during long hours of wear. It feels soft against the skin, thanks to the worsted yarn, and provides enough weight to stay put on your head throughout an autumn evening. Beginners appreciate the simple rectangle construction that avoids complex increases or decreases. You will master the ribbed texture by working in the back loops, which adds professional definition to the finished fabric. Making this piece satisfies the urge for a seasonal project that finishes in time for your next neighborhood gathering.
Why You’ll Love This Pattern
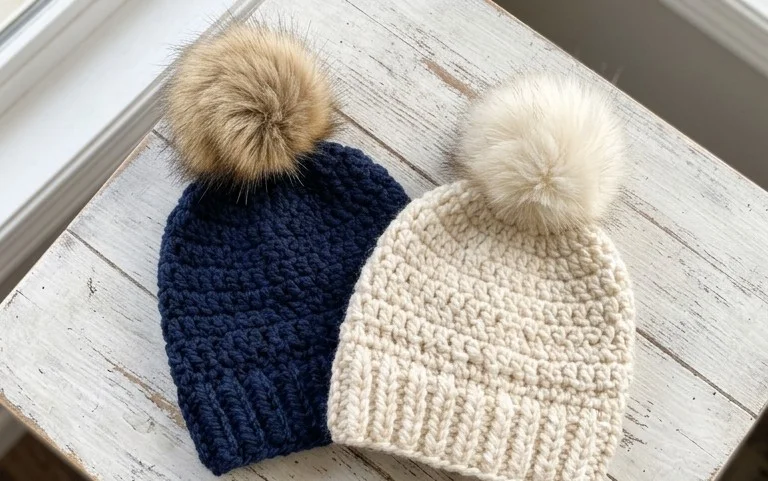
This crochet ribbed beanie works up quickly using the half-double crochet stitch in the back loop only, which creates a stretchy fabric that mimics the appearance of knit ribbing. Because the hat is worked as a flat rectangle and seamed at the end, it is an ideal project for those who are new to garment construction but want a professional-looking result. The density of the fabric provides significant warmth, making it a reliable choice for cold weather, while the simple construction allows you to easily adjust the height or circumference to fit any head size. You can complete this project in a single weekend, and it uses less than one skein of standard worsted weight yarn, making it a practical way to use up leftover yarn from your stash.
I finished this hat in just one sitting and was surprised at how much it looks like a store-bought rib-knit beanie. The instructions were very easy to follow and the fit is perfect.
— Sarah, hobbyist crocheter
Pattern Overview & Skill Level
- Skill Level: Beginner
- Approximate Time: 3 to 4 hours
- Construction: Worked flat in rows to create a rectangle, then seamed along the side and gathered at the crown.
- Finished Dimensions: 8.5 inches wide by 9 inches tall (laid flat), fits an average adult head circumference of 21 to 23 inches.
Materials & Supplies Needed
- Yarn: Worsted #4 weight, acrylic or wool blend, approximately 200 yards.
- Hook Size: 5.0 mm (H-8).
- Notions: Tapestry needle for seaming and weaving in ends, a locking stitch marker to track rows, and a tape measure.
- Yarn Substitutions: You can use a cotton yarn, but be aware that it will be heavier and lack the natural elasticity of wool or acrylic, which may affect how the beanie clings to your head.
Stitch Guide & Abbreviations (US Terms)
- ch: Chain stitch.
- hdc: Half double crochet.
- hdc-blo: Half double crochet in the back loop only.
- st/sts: Stitch/stitches.
- sl st: Slip stitch.
- BLO: Back loop only, meaning you insert the hook under only the back strand of the V-shaped stitch top.
Step-by-Step Pattern Instructions
The hat is worked in rows. You will chain 40 to start, which creates the height of the hat. You may add or remove chains if you prefer a different fit or a folded brim.
Main Body
- Row 1: Ch 40. Hdc in the third ch from the hook and each ch across. Turn. (38 sts)
- Row 2: Ch 2 (does not count as a stitch). Hdc-blo in each st across. Turn. (38 sts)
- Rows 3-60: Repeat Row 2 until the piece measures approximately 17 inches wide when laid flat.
Assembly
Once you have finished your rows, fold the rectangle in half so the short edges meet. Using your tapestry needle and a long tail of yarn, seam the two edges together using a whip stitch or mattress stitch. Secure the yarn and cut, leaving a 10-inch tail. Use this tail to weave through the stitches along the top edge of the tube. Pull the tail tight to close the crown of the hat, creating a gathered effect. Secure the center with a knot and weave in your ends on the inside of the hat.
Care & Washing Instructions
- Machine wash on a gentle cycle in cool water (30C) using a mild detergent.
- Lay the item flat on a towel to air dry, reshaping it while damp to prevent stretching.
- Do not iron or tumble dry, as high heat can melt synthetic fibers or cause wool to felt unpredictably.
Pro Tips & Common Mistakes to Avoid
Consistent tension is vital for the ribbing effect; if your stitches are too tight, the hat will be stiff rather than stretchy. Use a stitch marker on the first and last stitch of every row to ensure you do not accidentally drop or gain stitches, as these edges easily get lost. When weaving in your ends, run the needle through the stitches on the inside of the hat in two different directions to prevent the seam from unraveling over time. You can easily adjust the size by changing the starting chain count, but keep in mind that every 5 added chains will require approximately 15 additional yards of yarn.
Frequently Asked Questions
Can I substitute a different yarn weight for this pattern?
Changing to a lighter or heavier yarn will significantly change the dimensions of the hat. If you use a lighter weight, you will need to add more rows to reach the necessary circumference and adjust the starting chain count for height.
Is this pattern suitable for someone who has never crocheted before?
Yes, this is an excellent starter project because it only uses the half double crochet stitch and requires no complex shaping or rounds.
How do I adjust the pattern for a child’s size?
Reduce the starting chain to 30 or 32 for a shorter height, and stop working the rows when the rectangle reaches 15 to 16 inches in width before seaming.
Am I allowed to sell hats made from this pattern?
You are welcome to sell finished items created from this design. I kindly ask that you credit the pattern design to me if you are selling them in an online shop.
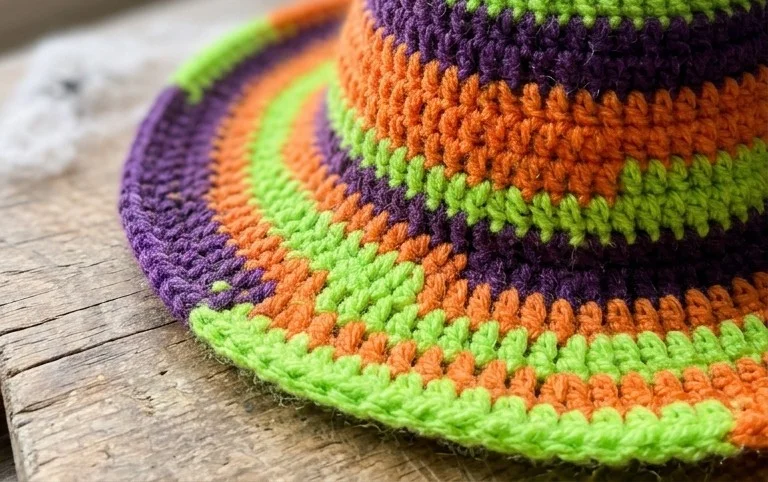
Your finished hat looks sharp sitting on a bookshelf or waiting by the front door for a cool night out. Try switching to a deep forest green or burnt orange yarn if you want a different mood for the season. Snap a photo of your work and post it online so others can see how your color choices turned out. Browse the rest of the blog for more seasonal accessories and beginner projects you can start today. Happy stitching as you prepare for the coming festivities.