Easy Crochet Storage Basket: Free Beginner Pattern
Stiff walls and a flat, stable base define this thick storage basket, which feels almost like a solid container rather than soft yarn work. Beginners appreciate how the single crochet stitches build height steadily without requiring complex transitions or hidden techniques. This project turns unruly piles of yarn scraps or scattered toys into an organized display piece in just a few hours. You will find that using a smaller hook than the label suggests creates a dense, professional fabric that keeps its shape without needing extra structural stiffeners. Understanding these specific material needs makes the process straightforward and satisfying for everyone.
Why You’ll Love This Pattern
The Classic Crochet Storage Basket is a functional project designed for durability and structure. Using a bulky yarn and a smaller hook size than typically recommended creates a stiff, dense fabric that holds its shape even when empty. This basket works up quickly in a single afternoon, making it an ideal choice for last-minute handmade gifts. Because it uses simple single crochet stitches worked in continuous rounds, it remains accessible for those still mastering basic tension control while providing a polished result for advanced makers.
I needed a quick way to organize my yarn scraps and this basket was the perfect solution. The instructions were easy to follow and the finished basket is sturdy enough to hold quite a lot of weight.
— Sarah, home organizer
Pattern Overview & Skill Level
- Skill Level: Beginner
- Approximate Time: 2 to 3 hours
- Construction: Worked in continuous rounds from the center outward to form a flat base, followed by a transition round to create vertical sides.
- Finished Dimensions: 8 inches in diameter and 6 inches in height.
Materials & Supplies Needed
- Yarn: Super Bulky weight (#6), cotton or acrylic blend, approximately 250 yards. Cotton provides a more rigid, defined structure compared to acrylic.
- Hook Size: 8.0 mm (L-11).
- Notions: Stitch marker to track the start of rounds, yarn needle for weaving ends, scissors.
- Safe yarn substitutions: You may use two strands of Worsted (#4) weight yarn held together as a substitute for Super Bulky. This will slightly alter the aesthetic by adding a speckled or multi-tonal texture but will maintain the necessary thickness for structural integrity.
Stitch Guide & Abbreviations (US Terms)
- MR: Magic Ring.
- st/sts: Stitch/stitches.
- ch: Chain.
- sc: Single crochet.
- inc: Increase (work 2 sc in the same stitch).
- BLO: Back Loop Only (inserting the hook only under the back loop of the stitch to create a ridge).
- sl st: Slip stitch.
Basket Base
The base is worked in continuous rounds. Place a stitch marker at the beginning of each round to keep track of the count.
- Rnd 1: Start 6 sc in a MR (6 sts).
- Rnd 2: Inc in each st around (12 sts).
- Rnd 3: (1 sc, inc) repeat 6 times (18 sts).
- Rnd 4: (2 sc, inc) repeat 6 times (24 sts).
- Rnd 5: (3 sc, inc) repeat 6 times (30 sts).
- Rnd 6: (4 sc, inc) repeat 6 times (36 sts).
- Rnd 7: (5 sc, inc) repeat 6 times (42 sts).
- Rnd 8: (6 sc, inc) repeat 6 times (48 sts).
Basket Sides
In this section, you will establish the vertical wall of the basket.
- Rnd 9: Working in BLO, sc in every st around (48 sts).
- Rnds 10-20: Sc in both loops of every st around (48 sts per round).
- Finishing: Sl st in the next st to smooth the edge, fasten off, and weave in all ends securely on the interior of the basket.
Care & Washing Instructions
- Hand wash in cool water with a mild detergent to prevent the fibers from stretching or losing their shape.
- Gently squeeze out excess water, then reshape the basket while damp and lay it flat to air dry on a clean towel.
- If the basket becomes lopsided over time, lightly steam the sides and manually push the walls into a circular form to reset the fibers.
Pro Tips & Common Mistakes to Avoid
- Maintain tight tension throughout the project. If your stitches are too loose, the basket will collapse; use a smaller hook size if you naturally crochet with a loose hand.
- Always use a stitch marker at the start of every round. Because this project is worked in a continuous spiral, it is easy to lose your place without a physical reminder of the round transition.
- Weave your ends in by threading them through the stitches on the inside of the base or walls, moving in multiple directions to ensure they do not pull out.
- Adjusting the size: To make a larger basket, simply continue the increase sequence in the base (e.g., adding a round of 7 sc, inc) until the desired diameter is reached, then proceed to the sides. Note that larger baskets will require significantly more yardage.
Frequently Asked Questions
Can I use wool yarn for this basket?
Wool is an excellent choice for a basket, though be aware that it may felt if washed in a machine. Ensure you use a non-superwash wool if you want the basket to retain its structure firmly.
How do I make the sides stand up straighter?
Working the first round of the sides in the Back Loop Only (BLO) creates a natural hinge or ridge that helps the walls stand vertically. For extra firmness, you can hold a strand of nylon cord along with your yarn for the last few rounds.
Is this pattern suitable for complete beginners?
Yes, this is a perfect project for beginners. It focuses on the fundamental single crochet stitch and teaches you how to create a flat circle, which is the base for many more complex amigurumi and container projects.
Am I allowed to sell baskets made from this pattern?
You are welcome to sell finished items made from this pattern. I only ask that you credit the design appropriately when listing your items online.
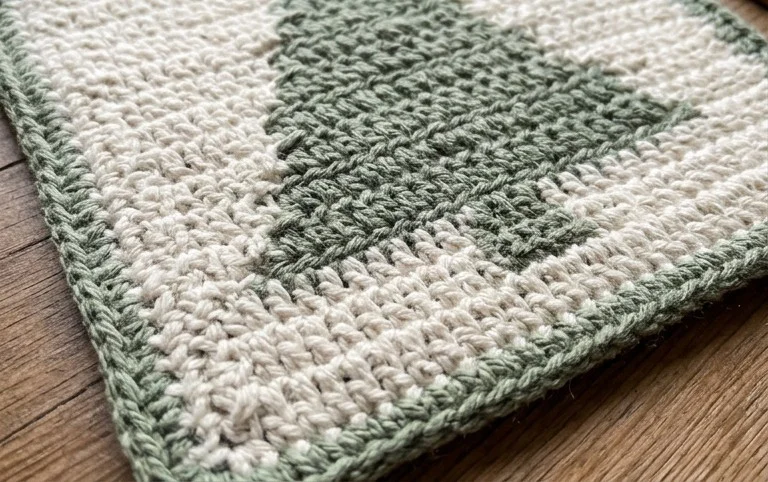
Your finished basket stands firm and ready to hold all your favorite items throughout the house. Consider working this pattern in two-tone stripes or using a natural jute twine for a rustic look that fits any room style perfectly. Snap a photo of your organizer and share it with the community on Instagram or Pinterest to show off your hard work. You can find more free patterns for simple home goods and accessories by browsing the archives on the main blog page anytime.