Easy Granny Stitch Bucket Hat: Free Crochet Pattern
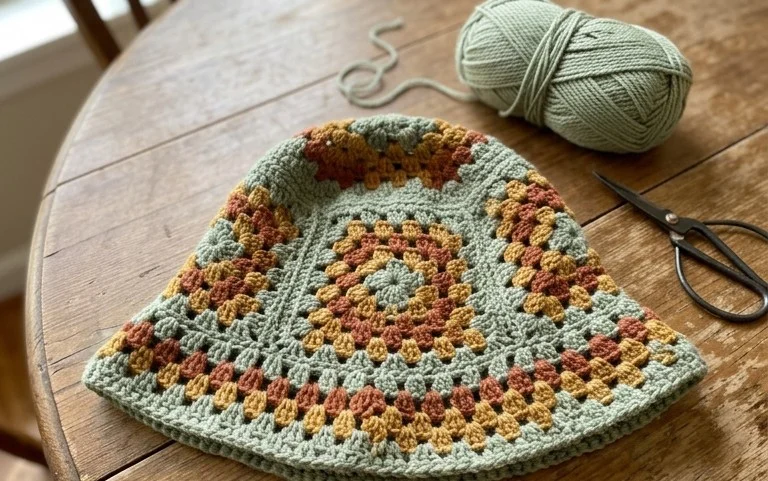
Soft yarn creates a squishy and comfortable accessory that keeps you warm during chilly walks or outdoor errands. This project relies on the classic granny cluster technique to build a dense, charming texture that stands out from standard double crochet designs. It is a rewarding project for beginners because you work the body in one flat piece before seaming it into a circular shape. You will learn how to maintain consistent tension while transitioning between clusters and chains to achieve a professional finish. It makes a thoughtful gift for friends or a quick addition to your own seasonal collection.
Why You’ll Love This Pattern
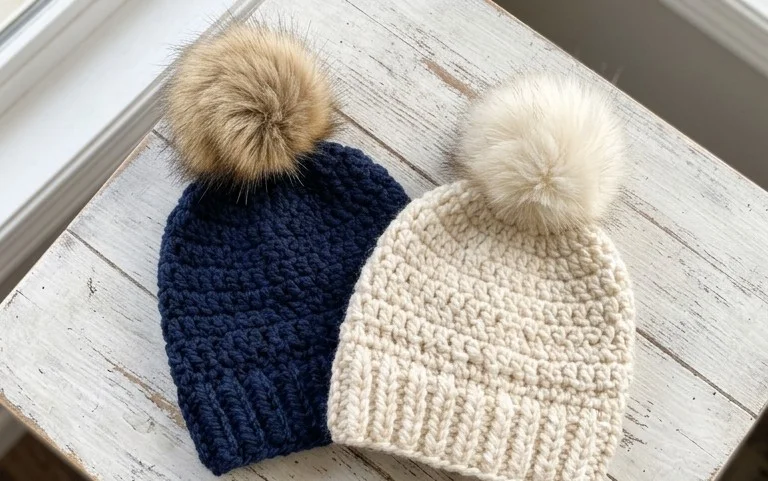
This crochet ribbed beanie pattern utilizes a simple back-loop-only technique that creates a professional, store-bought look with minimal effort. You work the entire hat in a single rectangular panel, which makes it an excellent choice for those who want to avoid complex shaping or counting multiple stitch patterns. Because the hat is constructed from the side, the ribbed texture is built directly into the fabric as you go. It is a quick project that takes only a few hours to complete, making it ideal for last-minute gifts or stocking up for craft fairs. The resulting fabric is stretchy, dense, and warm, providing a comfortable fit for most adult head sizes.
I managed to finish this hat in one evening while watching a movie. The instructions were very clear and the ribbing looks so clean compared to other patterns I have tried.
— Sarah, hobbyist crocheter
Pattern Overview & Skill Level
- Skill Level: Beginner
- Approximate Time: 3 to 4 hours
- Construction: Worked flat in one rectangular panel, then seamed at the side and gathered at the top.
- Finished Dimensions & Sizing: Fits an average adult head (21–23 inch circumference), 9 inches tall when folded.
Materials & Supplies Needed
- Yarn: Worsted weight (#4), wool or acrylic blend, approximately 200 yards.
- Hook Size: 5.0 mm (H-8) crochet hook.
- Notions: Tapestry needle for seaming, scissors, and a measuring tape.
- Safe yarn substitutions: Cotton yarn can be used for a summer-weight version, though it will have less natural stretch and require a tighter tension to maintain shape.
Stitch Guide & Abbreviations (US Terms)
- ch = chain
- sc = single crochet
- BLO = back loop only (insert hook under the back loop of the stitch instead of both loops)
- sl st = slip stitch
- st/sts = stitch/stitches
Step-by-Step Pattern Instructions
Main Hat Panel
- Row 1: Ch 45. Sc in the second ch from the hook and in each ch across. Turn. (44 sts)
- Row 2: Ch 1. Working in BLO, sc in each st across. Turn. (44 sts)
- Rows 3–60: Repeat Row 2 until the piece measures approximately 20 inches wide when slightly stretched. Do not fasten off.
Assembly and Finishing
- Seaming: Fold the rectangle in half, matching the short ends together. Slip stitch through the back loop of the foundation chain and the back loop of the final row to join the sides, creating a tube. Fasten off, leaving a 12-inch tail.
- Closing the Crown: Thread your tapestry needle with the long tail. Weave the yarn in and out of every other row end along the top edge of the tube. Pull the tail tight to gather the fabric together, closing the hole at the top. Secure with a knot and weave in the end on the inside of the hat.
Care & Washing Instructions
- Hand wash in cool water using a mild wool-safe detergent to preserve the elasticity of the stitches.
- Gently squeeze out excess water with a towel, then lay the hat flat on a dry surface to air dry.
- Avoid wringing or twisting the fabric while wet, as this can permanently distort the ribbed shape.
Pro Tips & Common Mistakes to Avoid
Maintain consistent tension throughout the panel to ensure the ribbing looks uniform from start to finish. If your stitches are too loose, the hat will stretch out quickly and lose its shape. Use a stitch marker at the start of every row to ensure you do not accidentally skip the final stitch, which would cause the edges of your rectangle to become uneven. When weaving in your ends, run the yarn through the back loops of the stitches on the inside of the hat to keep the joins invisible. To adjust the size, simply add or subtract chains at the beginning to change the height, or work more rows to increase the circumference.
Frequently Asked Questions
Can I use a different yarn weight for this pattern?
Yes, but you will need to adjust your starting chain length to match your desired height and work more or fewer rows to accommodate the different gauge of the yarn.
Is this pattern suitable for someone who has never crocheted before?
Absolutely, as it only uses single crochet and slip stitches, making it a perfect project to practice basic stitch mechanics and tension control.
Can I sell the hats I make from this design?
You are welcome to sell finished items made from this pattern, provided you credit the designer in your product listings.
What should I do if my hat is too loose after wearing it?
You can weave an elastic cord or a strand of clear nylon thread through the inside brim to add extra snugness and help the hat hold its shape over time.
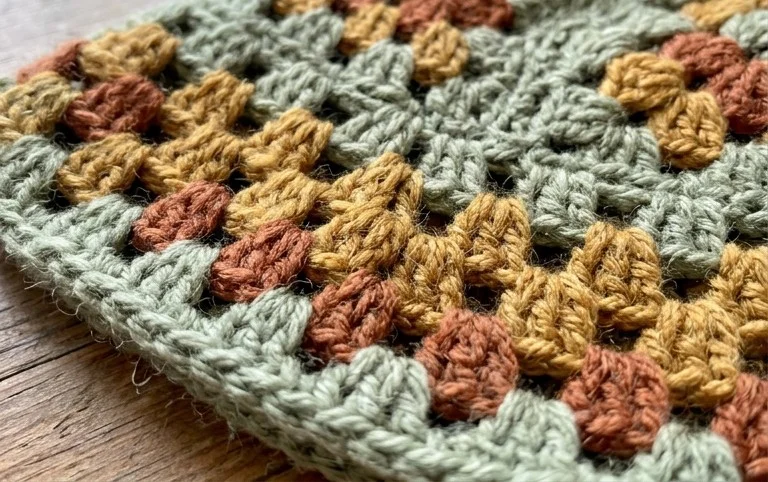
Your completed hat provides a cozy layer that brings a touch of handmade charm to any casual outfit. Try working this in variegated wool for a bold look or a neutral cotton blend for a lighter, spring-ready version. Tag your finished photos on social media so others can see your unique color choices. If you enjoyed this project, browse the rest of the site for more free patterns to build your collection of handmade accessories and home goods.