Free Grinch Crochet Pattern: Easy Step-by-Step Guide
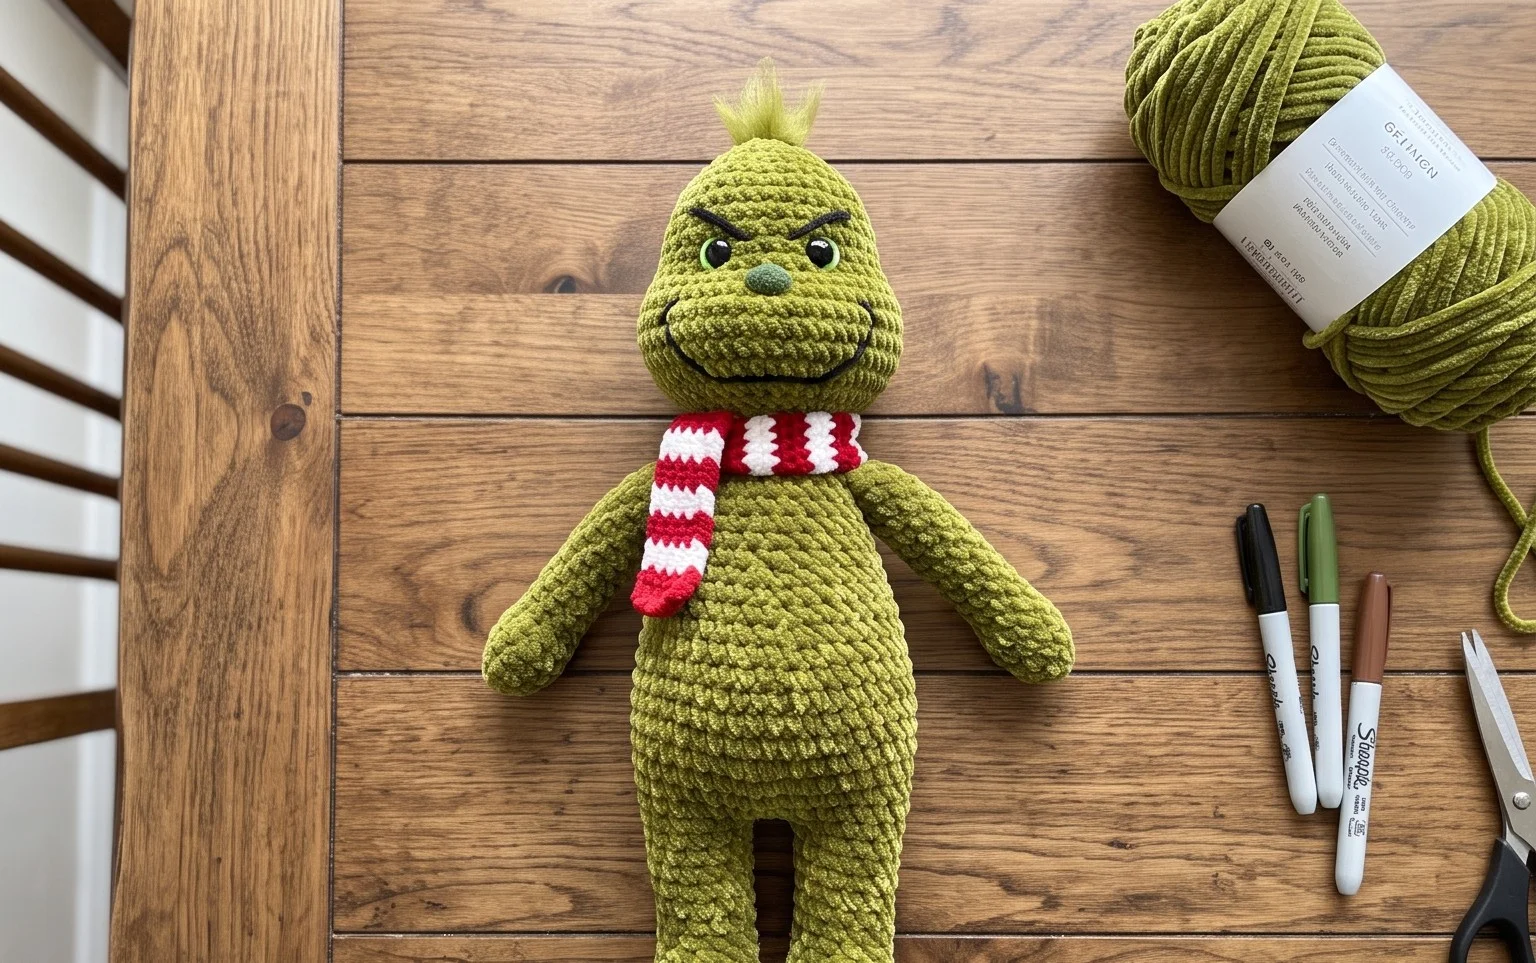
Bright lime green yarn and a distinct, fuzzy texture make this character-inspired piece a standout addition to any holiday wardrobe. It feels soft against the skin, providing warmth for chilly winter outings while bringing a touch of playful charm to your seasonal collection. Beginners find this project especially rewarding because it relies on basic stitch repeats that grow quickly, offering a sense of accomplishment by the end of the day. You will learn how to maintain consistent tension while working in the back loops to create a durable, stretchy fabric that holds its shape throughout the colder months.
Why You’ll Love This Pattern
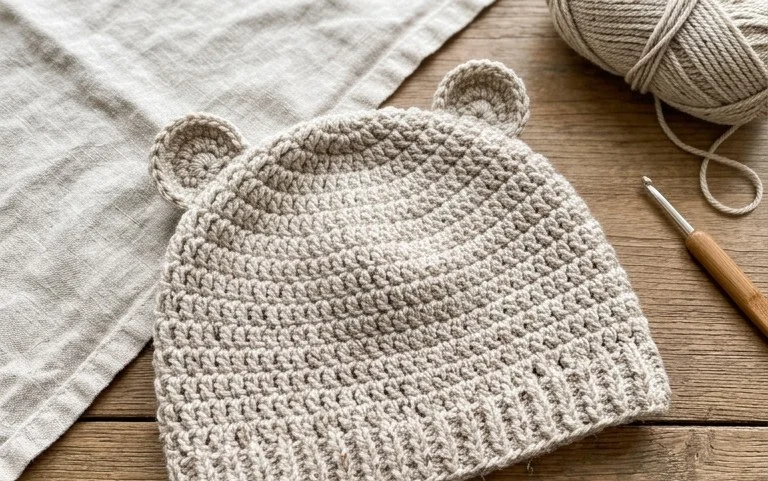
This crochet ribbed beanie pattern uses a simple construction method that turns a flat rectangle into a cozy, fitted accessory. By working in back loops only, the fabric gains natural elasticity and a professional, store-bought look that stretches comfortably to fit most adult head sizes. It is a quick project that requires only one skein of worsted weight yarn, making it an ideal choice for last-minute gifts or using up those extra balls of yarn in your stash. Because the pattern relies on a repeating row of single crochet, it is easy to pick up and put down during a busy day without losing your place.
I finished this hat in one evening while watching a movie. The ribbed texture looks much more complicated than it actually is and the fit is perfect.
— Sarah, hobbyist crocheter
Pattern Overview & Skill Level
- Skill Level: Beginner
- Approximate Time: 3 to 4 hours
- Construction: Worked flat in one rectangular piece and seamed along the side, then gathered at the top
- Finished Dimensions & Sizing: 18 inches circumference (unstretched) by 9 inches tall, fits an average adult head
Materials & Supplies Needed
- Yarn: Worsted #4 weight, approximately 200 yards, acrylic or wool blend
- Hook Size: 5.0 mm (H-8)
- Notions: Tapestry needle for seaming and weaving in ends, locking stitch marker, scissors
- Safe yarn substitutions: Cotton yarn will result in a heavier, less stretchy hat. Wool blends provide the best warmth and recovery. Using a larger hook will make the fabric drapier but less dense for cold weather.
Stitch Guide & Abbreviations (US Terms)
- ch = chain
- sc = single crochet
- BLO = back loop only: insert hook only under the back loop of the stitch instead of both loops to create ridges
- st/sts = stitch/stitches
- sl st = slip stitch
Step-by-Step Pattern Instructions
Main Body
- Row 1: Ch 46. Work 1 sc in the second ch from the hook and in each ch across. (45 sts)
- Row 2: Ch 1, turn. Work 1 sc in BLO of each st across. (45 sts)
- Rows 3 to 60: Repeat Row 2 until the piece measures 18 inches in length. (45 sts)
Assembly and Finishing
- Fasten off, leaving a 12-inch long tail for seaming.
- Fold the rectangle in half so the short ends meet.
- Using the tapestry needle and the long tail, sew the two short ends together using a whip stitch or mattress stitch.
- Once seamed, turn the piece inside out so the seam is hidden.
- Weave the yarn tail in and out through the stitches along the top edge of the tube. Pull the yarn tight to gather the top closed and secure with a knot.
- Weave in all remaining ends securely to prevent unraveling.
Care & Washing Instructions
- Hand wash in cool water using a gentle detergent specifically formulated for knitwear.
- Lay the beanie flat on a clean towel to air dry, reshaping it while damp to ensure it retains its circular form.
- Do not bleach or iron the fabric, as heat can damage synthetic fibers or cause wool to felt.
Pro Tips & Common Mistakes to Avoid
Maintain consistent tension throughout the project to ensure the ribbing looks uniform. If your tension is too tight, the hat will be difficult to pull on; if too loose, the ribbing will lack definition. Place a stitch marker in the first stitch of every row to ensure you do not accidentally drop stitches at the edges, which is the most common cause of a trapezoid-shaped rectangle. Weave in your yarn tails along the ribbing ridges to hide them effectively rather than cutting them close to the knot. To adjust the size, add or subtract chains in multiples of two to change the height, or add more rows to increase the circumference.
Frequently Asked Questions
Can I use a chunky weight yarn instead of worsted?
You can, but you will need to reduce your starting chain count significantly to account for the thickness. Ensure you check your gauge before starting to maintain the correct fit.
Is this pattern suitable for someone who has never crocheted before?
Yes, this is an excellent first project. It teaches the fundamental single crochet stitch and the concept of working in the back loop, which is essential for creating textured fabrics.
How do I make the beanie larger for a different head size?
Simply add more rows to the main body section until the rectangle reaches your desired circumference. The height is determined by the length of your starting chain.
Can I sell the finished hats I make from this pattern?
You are welcome to sell finished items made from this design. Please credit the pattern origin if you list them in an online shop.
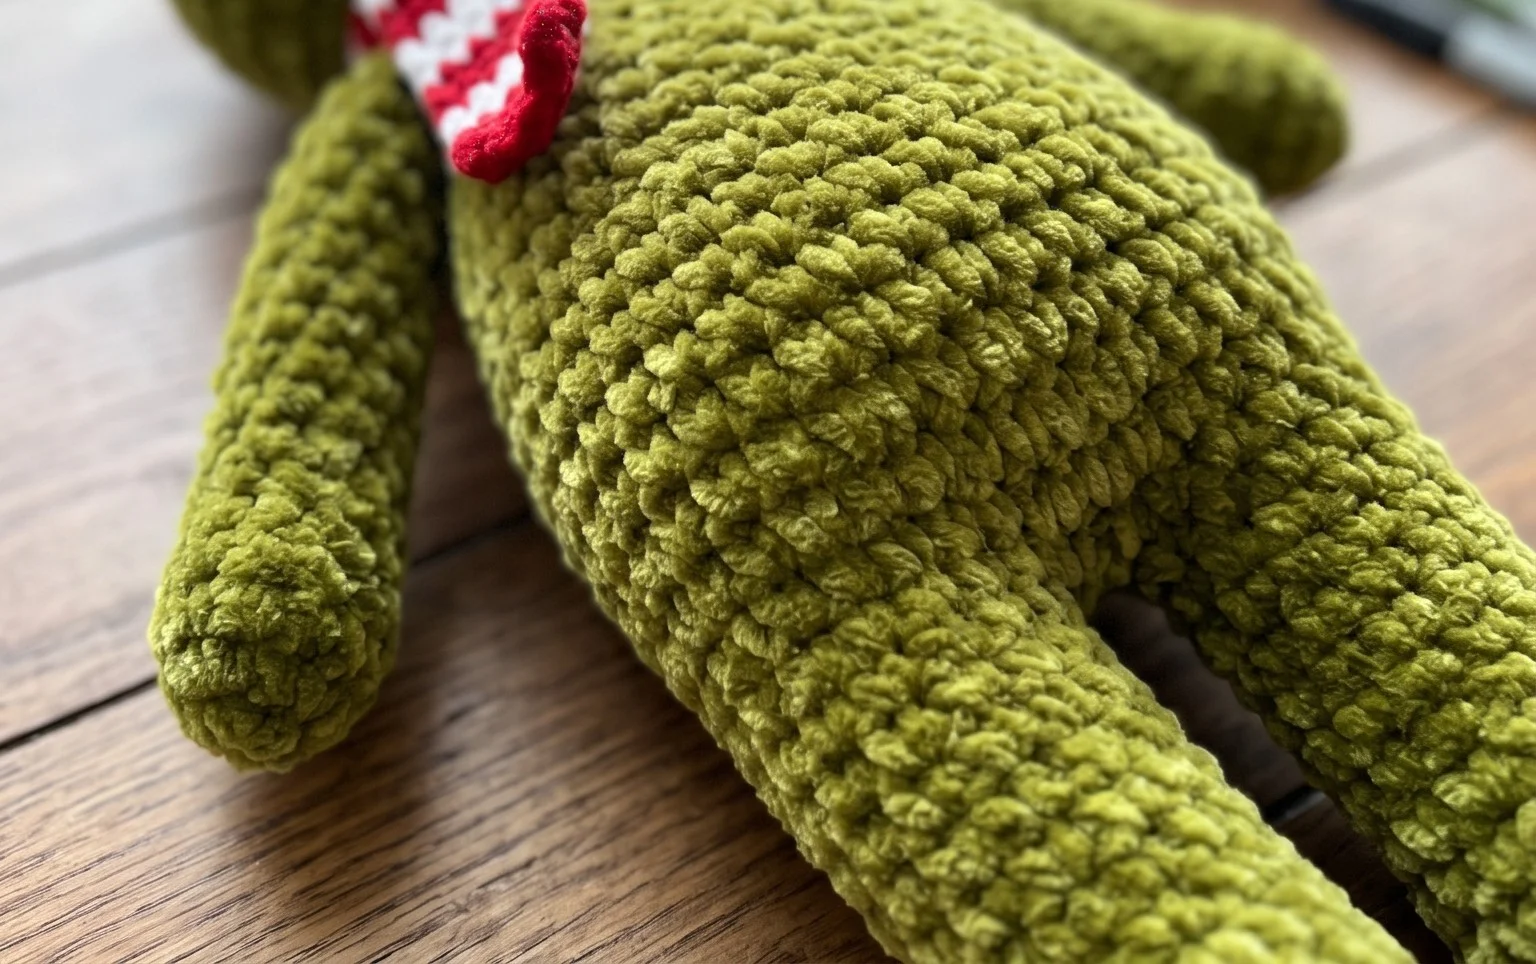
Holding this finished character hat reminds me of why I enjoy simple, repetitive crochet work during the busy holiday season. If you want to customize your version, try adding a fluffy white yarn border around the cuff for an extra layer of soft detail or change the green shade to a darker olive tone. Share a photo of your work on your favorite social media platforms so others can see your progress. Feel free to browse the rest of my blog for more seasonal projects and patterns.